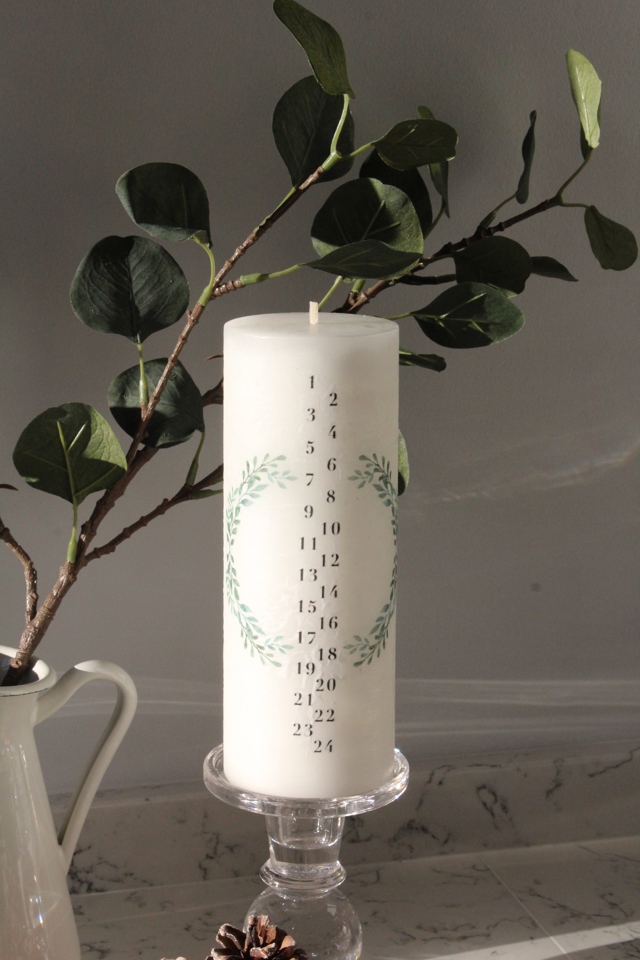
So, this year, why not allow yourself to slow down and relax each day, take a well deserved rest at the kitchen table, and watch as your DIY advent candle burns away on the windowsill? In this Journal post, we’re getting crafty as we show you how to print your own advent design on to a candle, creating your own family countdown.
Advent, meaning ‘arrival’ or ‘coming’ began as a religious tradition, symbolising the countdown to the birth of Jesus. Countries all over the world celebrate the time with different traditions, from candles, to wreaths, to calendars with pictures hidden behind 24/25 doors.
Originally, Christians stood four candles in an evergreen wreath, with each representing either hope, joy, faith or peace, and an optional fifth candle in the centre representing light and purity.
In the modern day, chocolate calendars have become popular with those who are religious and not religious alike, where children receive a small chocolate every day in the run up to Christmas. However, one aim of advent remains the same no matter the religious connotations for the individual- to pause as a family everyday in December and appreciate the time together, to connect with the spirit of Christmas and to remember why we celebrate the holiday.

A pillar candle (White will be the easiest to use due to tissue colouring). Link to the candle we used.
White tissue paper (Can be purchased in most supermarkets or stationary shops). Example here.
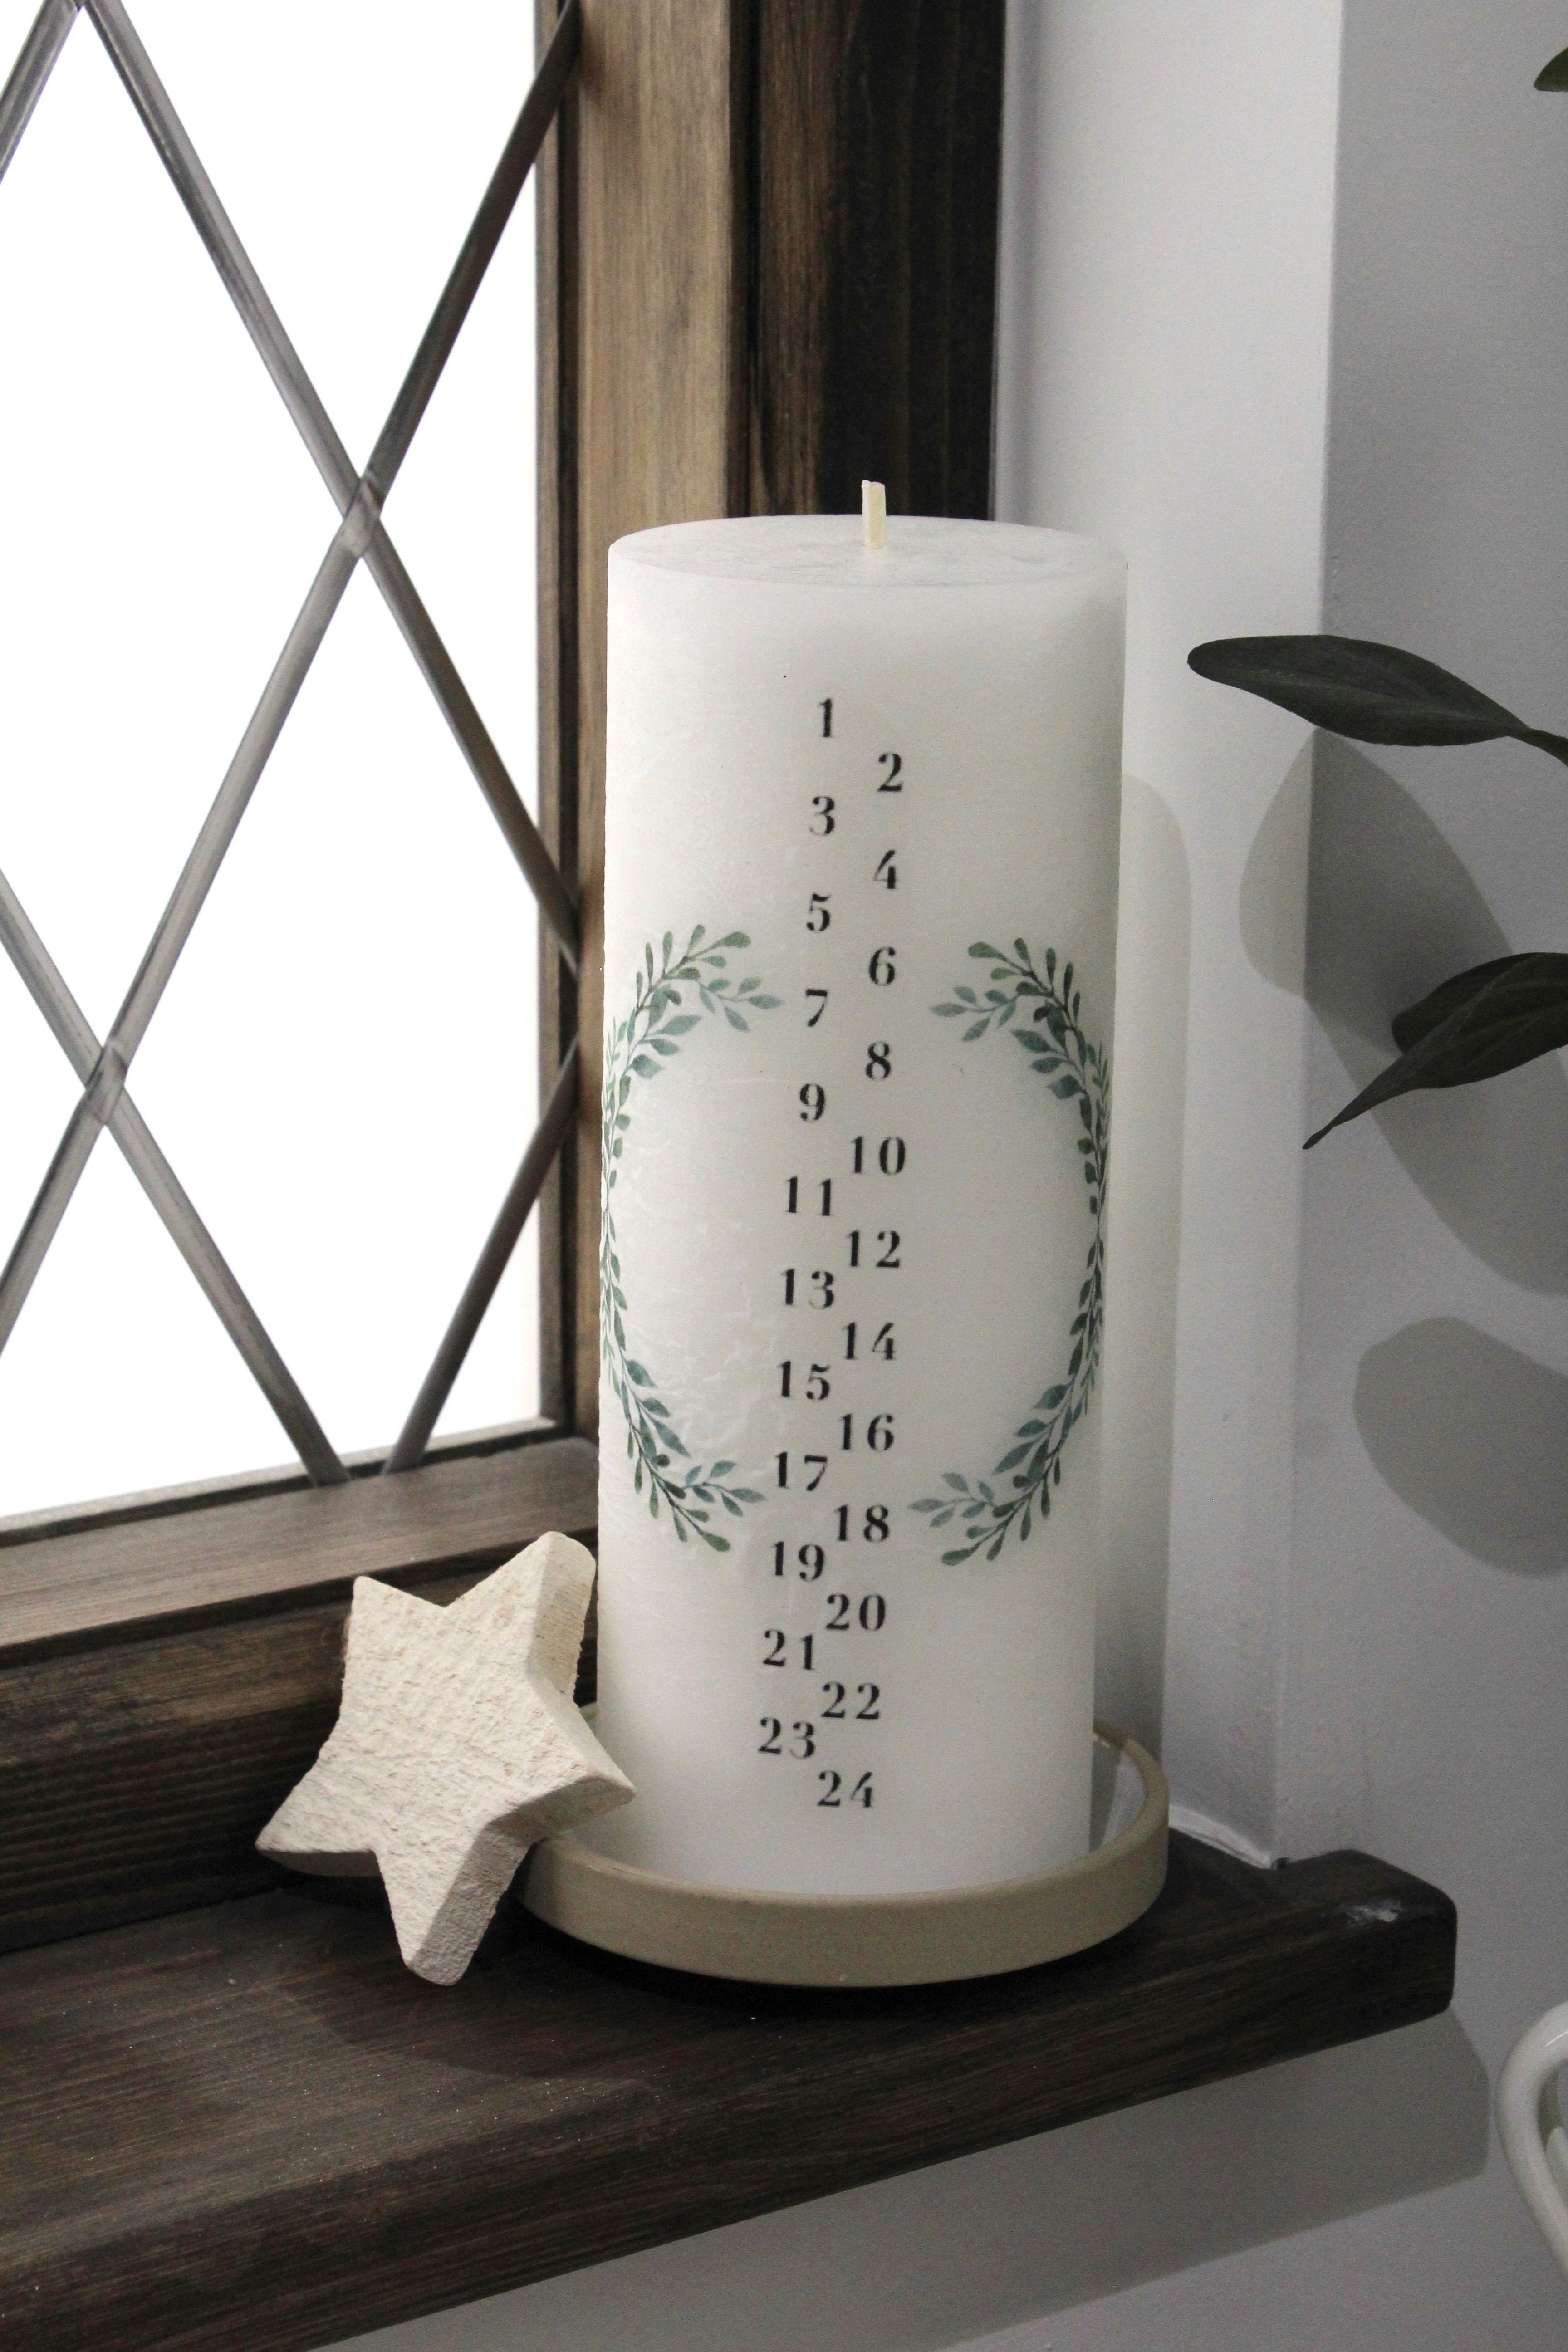

First you need to choose your candle design. We’ve created a template of our design that can be found here: Advent candle. Alternatively, if you’d like to create your own graphic, Canva is an easy-to-use website that allows you to create designs with a bank of graphics and layered fonts.
Make sure your design the right shape/size for your pillar candle- this may need a few trial and error print tests!

So you’ve chosen your design, now it’s time to print. Cut a piece of white tissue paper that’s (a couple of cm smaller than an A4 sheet of paper) and sellotape it flat against one piece of paper (sellotape along the edges of the tissue). Make sure it’s as flat against the paper as possible to prevent your printer jamming.
Place this the correct way up in the printer and print your design. The graphic should print onto the tissue paper.
Cut around your design as close as you can to the edges.
Dispose of the A4 paper and place your tissue paper where you would like it to sit on the candle. Press it down, then wrap a sheet of baking paper around the candle and tape in place.
Use a hairdryer or heat gun to melt the wax slightly under the design until it darkens, making it more visible through the baking sheet.
Peel back the baking paper when you’re sure the design has successfully adhered to the candle and press down any bubbles or unevenness.
Then, all that’s left to do is find the perfect place to display your advent candle and light it everyday in the run up to Christmas! Take five minutes to relax, enjoy a mince pie and appreciate this beautiful time of year.
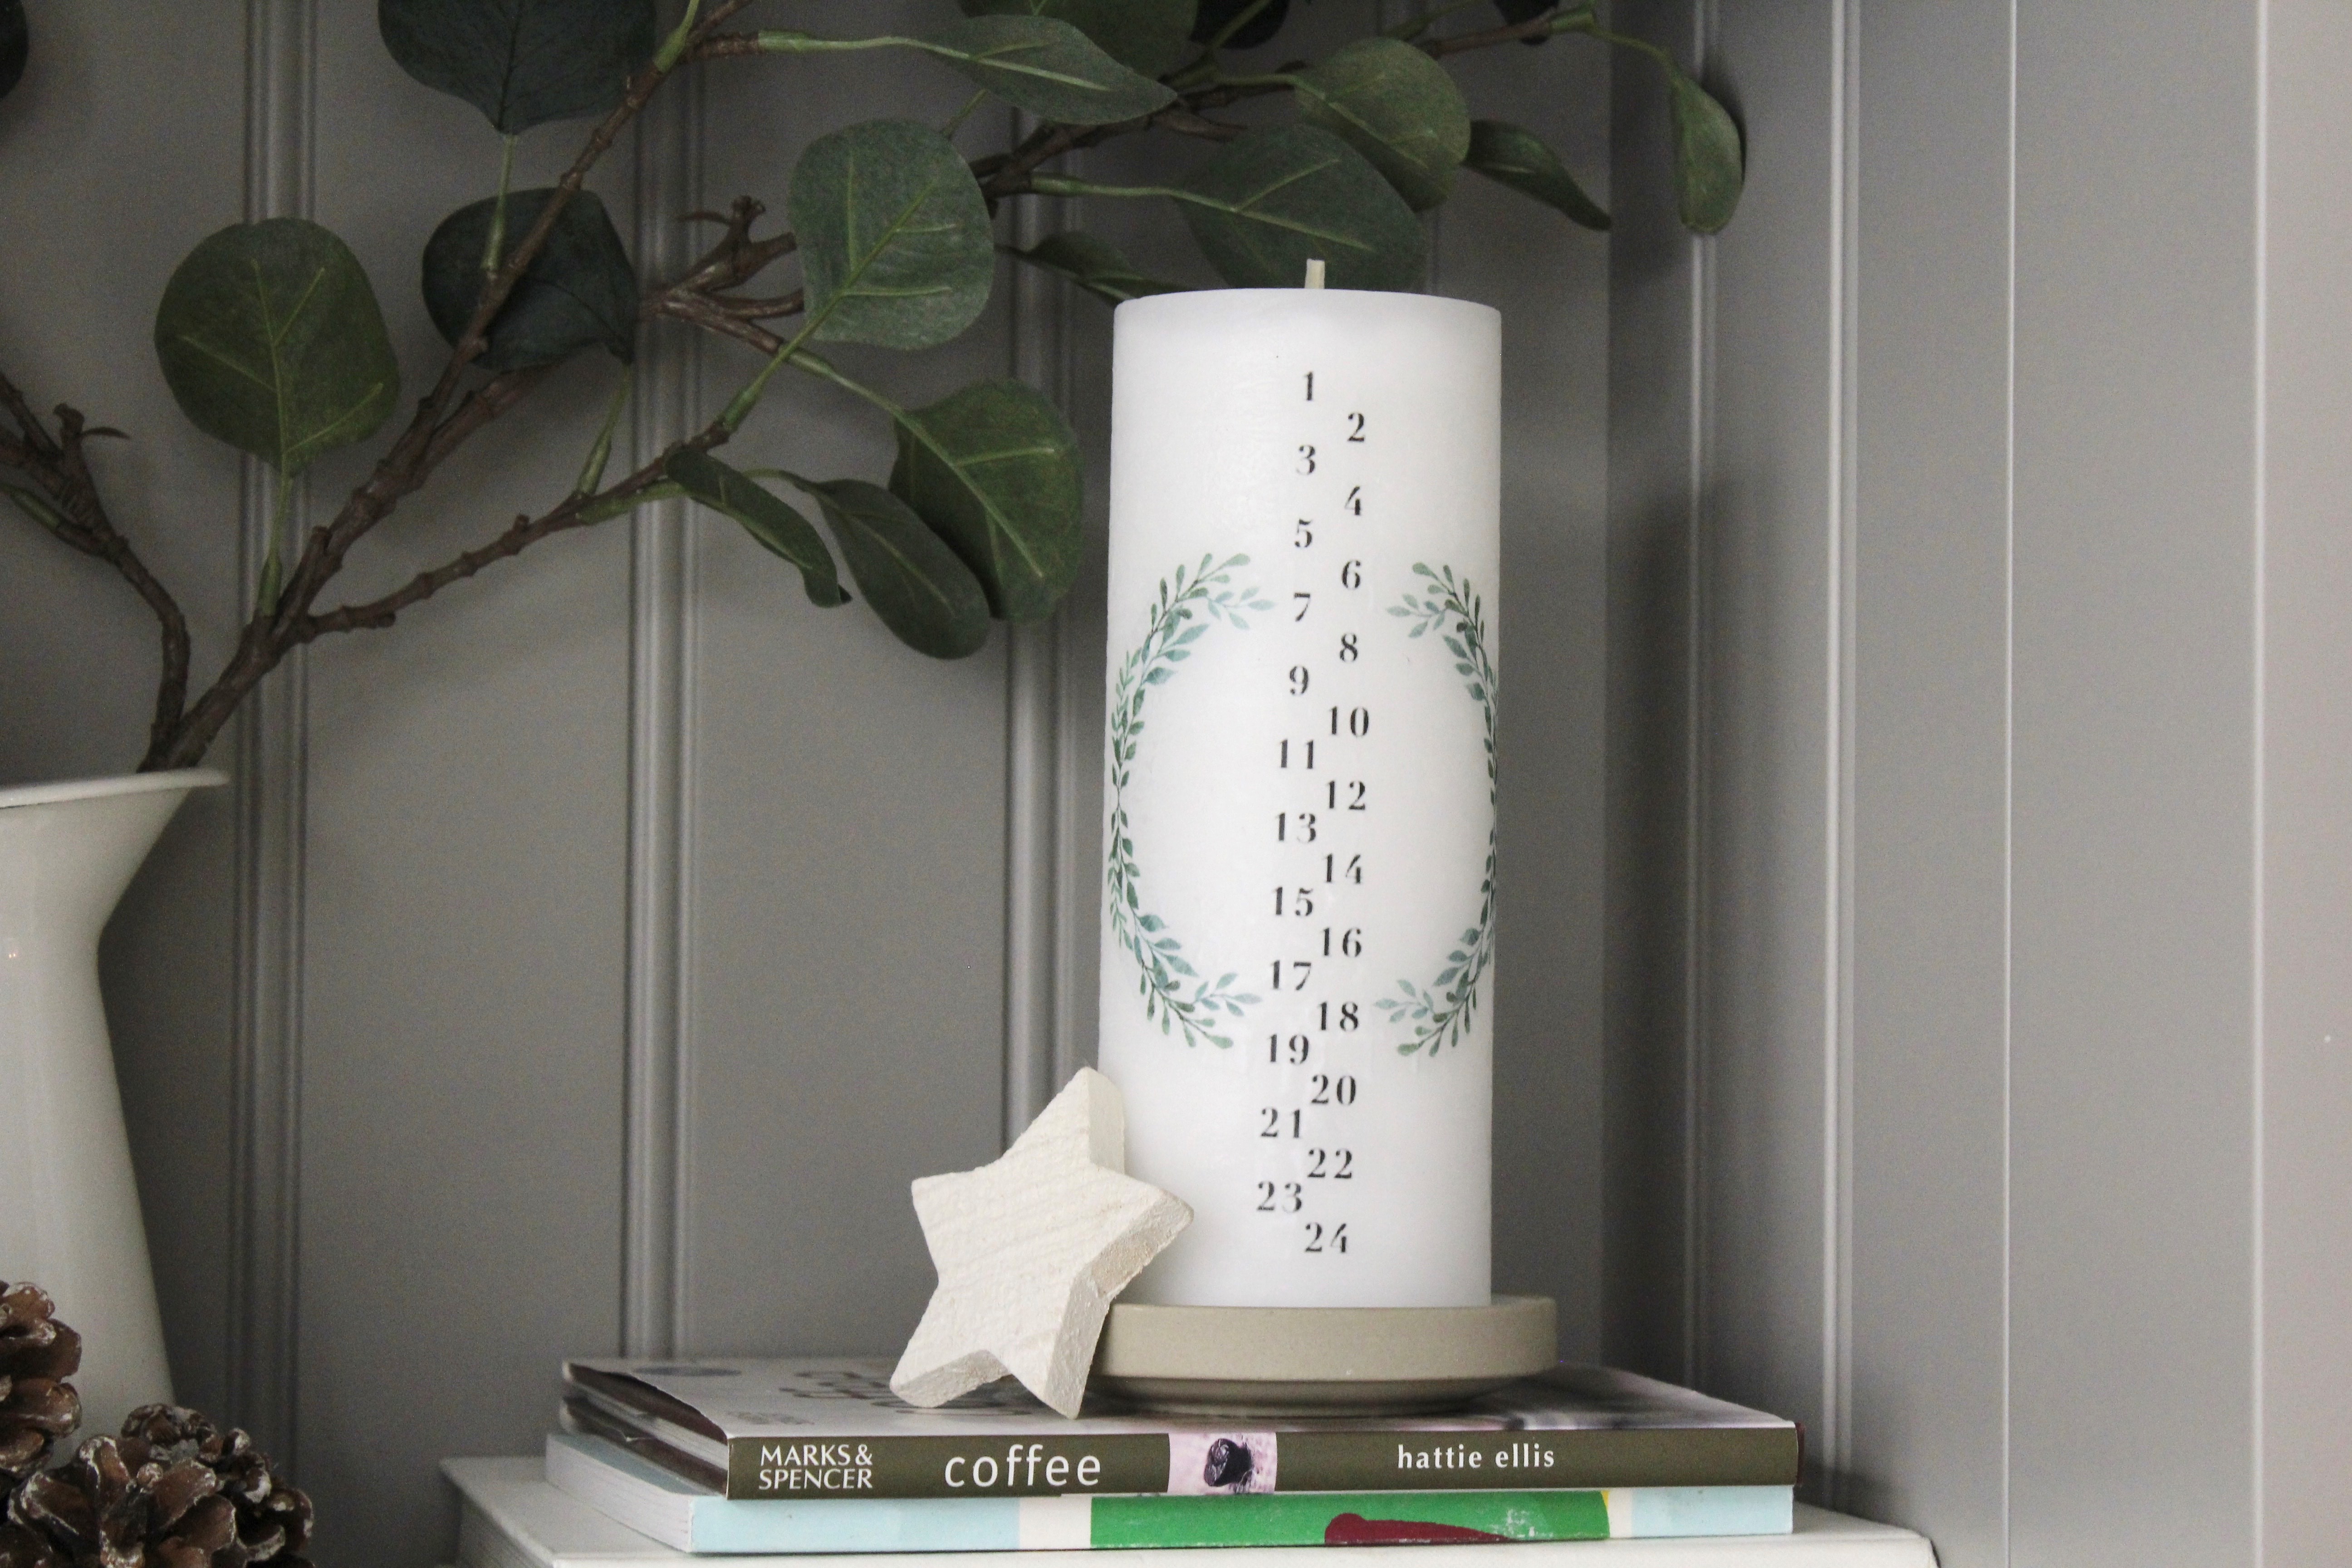
Have we inspired you to make your own advent candle in the countdown to Christmas?
We’d love to see the end result- share your pictures with us on social media and show us how your family celebrate advent.

Book a complimentary design session with your local 1909 expert to start planning your dream kitchen.

With our beautiful brochure, you can explore 1909 inspiration from the comfort of your very own home.